Windows 7
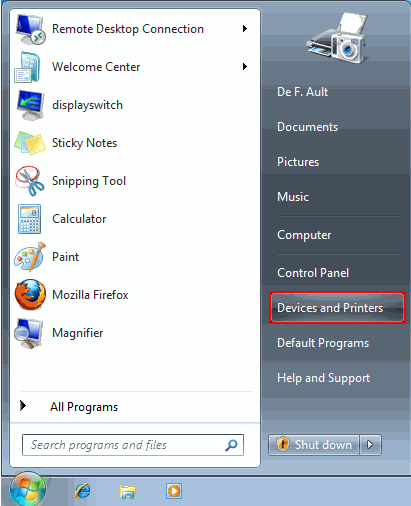
Click on the start menu and once inside, move your cursor over Devices and Printers and left click as shown below.
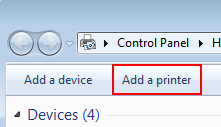
Then select Add a Printer located on the top bar in the window that appears.
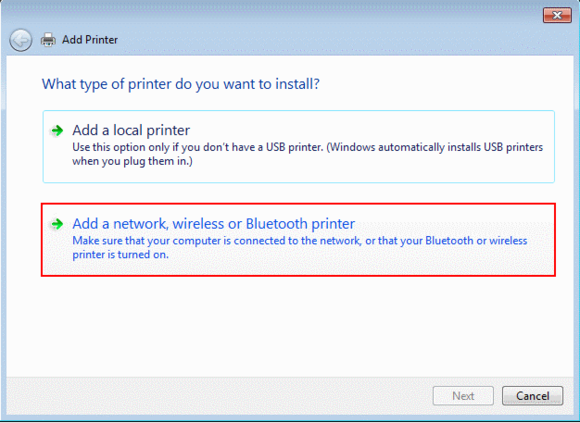
Then select Add a network printer.
Windows will search for printers and find a couple but nothing you have access to. Click on The printer that I want isn't listed.

Select the browse for print option and then click next.
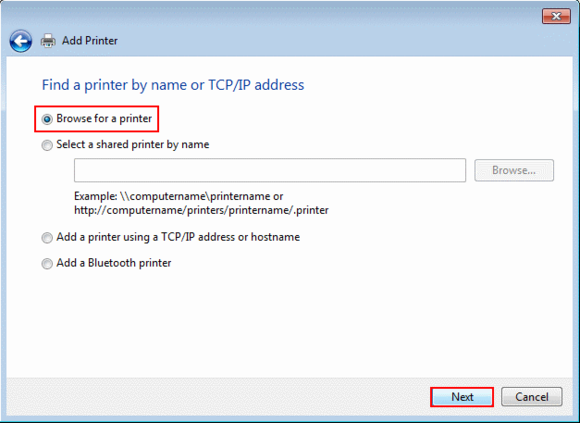
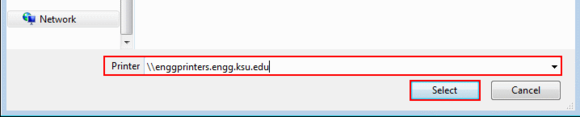
In the box next to Printer, type \\enggprinters.engg.ksu.edu and then click select.
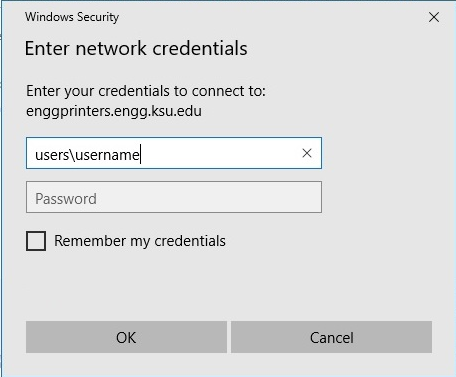
After the select button is clicked a window will appear that will prompt you for your username and password. For the username you MUST type in USERS\ before your username. Once you have typed that you can proceed to typing your username as normal and then your password. Check the Remember my credentials box. Click OK.
NOTE: If you do not check the Remember my credentials box, you will need to re-install the printer in order to use that printer again if you take your personal computer off campus and return.
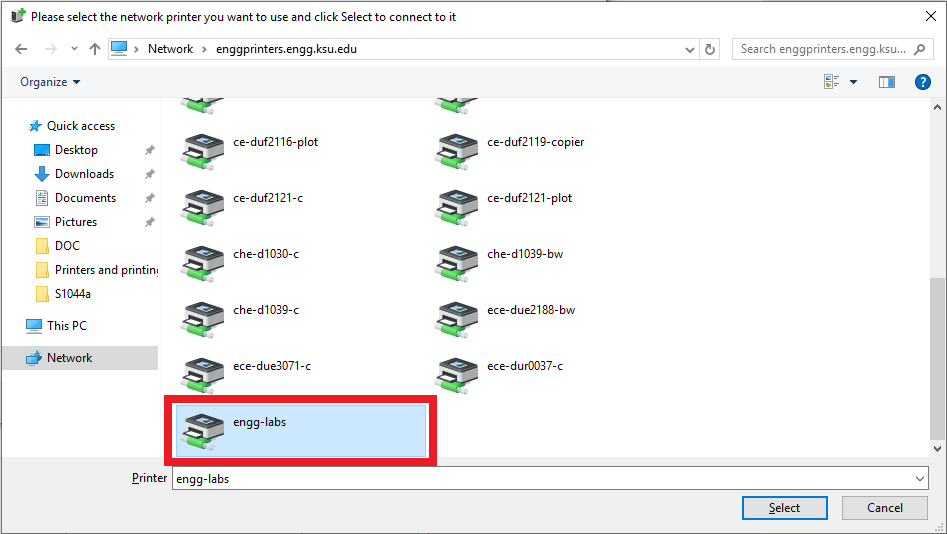
There will be many printers to choose from. You must select the engg-labs printer. All lab printers use Release Stations, so there is only one queue for all of them. Then click the select button.
After selecting engg-labs this window should appear.

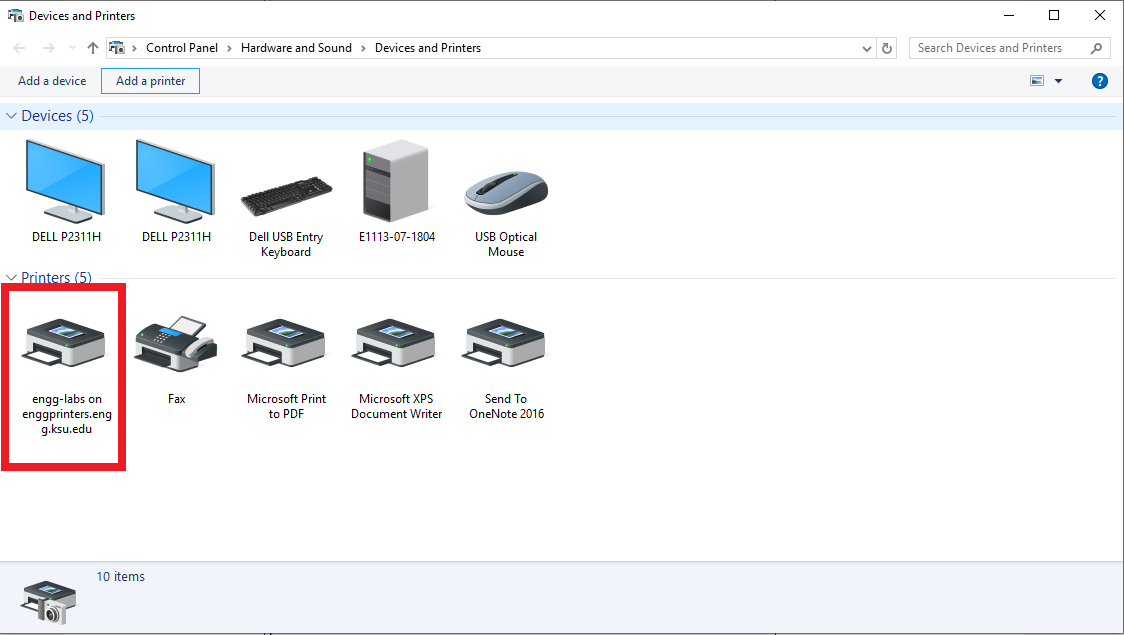
Another way to check if a printer was successfully installed is to go to Control Panel> View Devices and Printers. The installed printer should be visible under printers.